
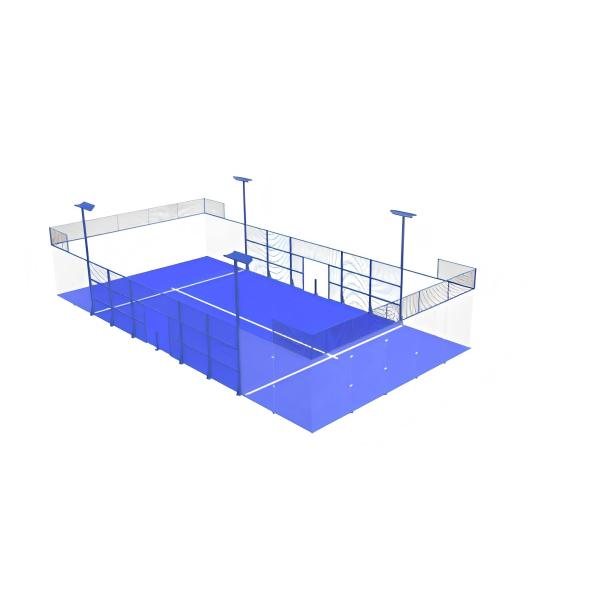
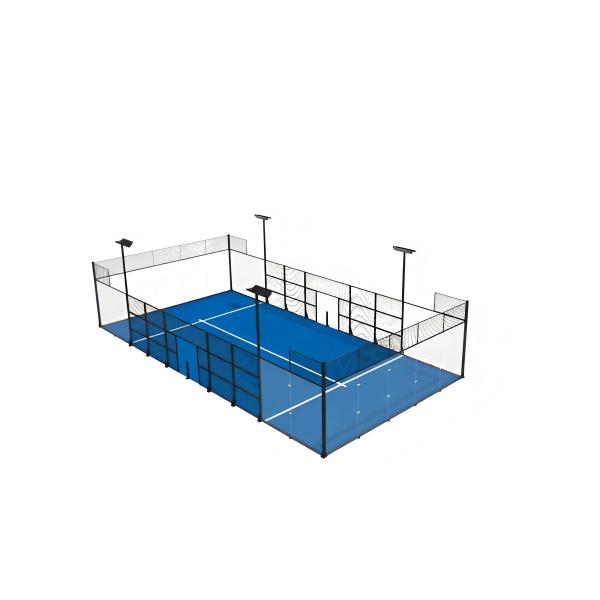
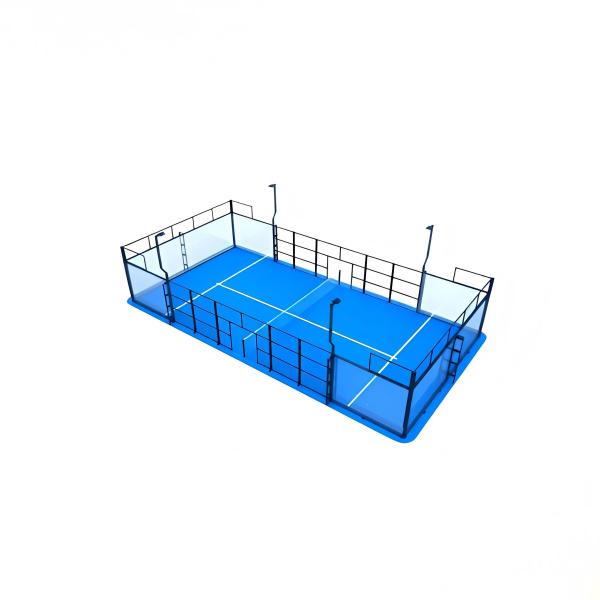
Installing a padel court requires careful coordination between site planning, civil construction, structural assembly, glass installation, artificial turf and electrical work. Even a high-quality court system may develop alignment, drainage or playing-performance problems when the foundation or installation process is not completed correctly.
This guide explains the main stages of padel court installation and the key points that club owners, contractors and project developers should confirm before construction begins.
1. Confirm the Court Type and Project Requirements
Before preparing the site, choose a court configuration that matches the location and intended use.
Common options include:
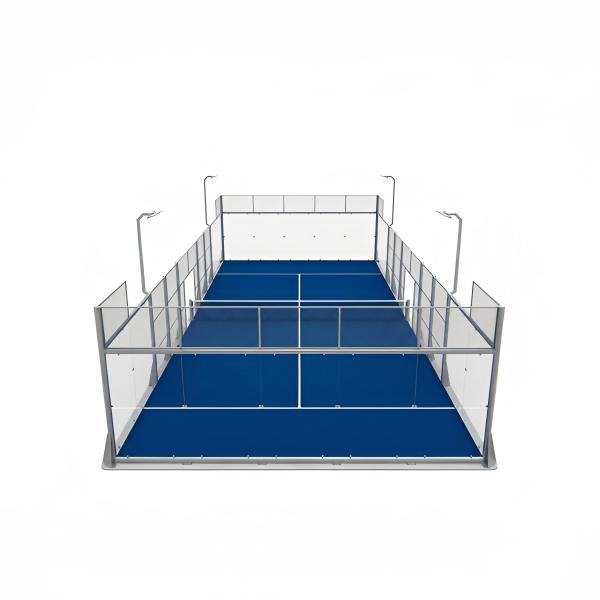
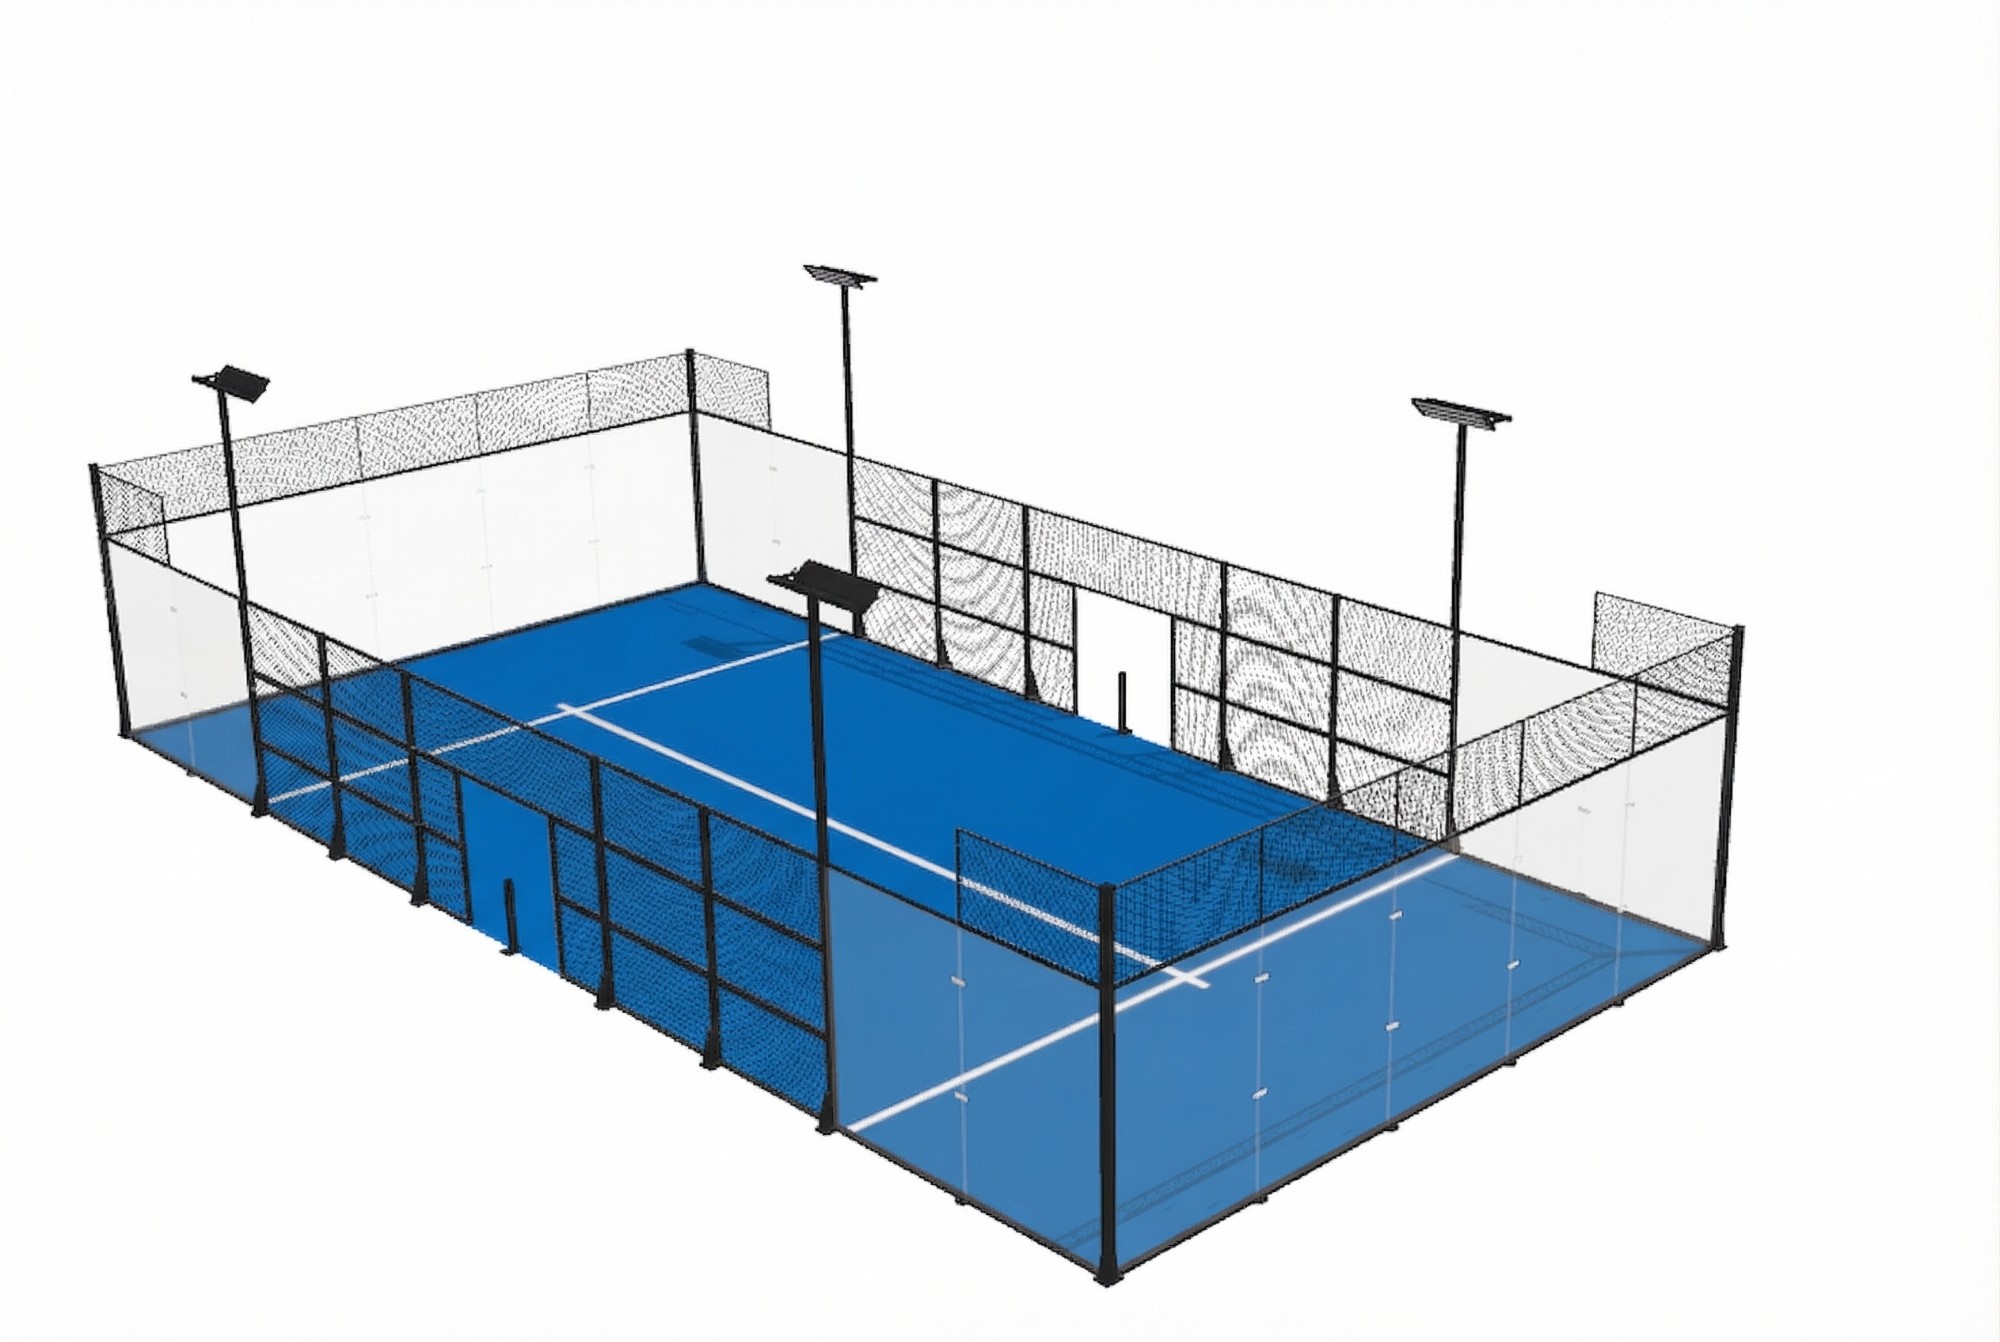
- Standard panoramic padel court
- Super panoramic padel court
- Wind-resistant padel court
- Indoor padel court
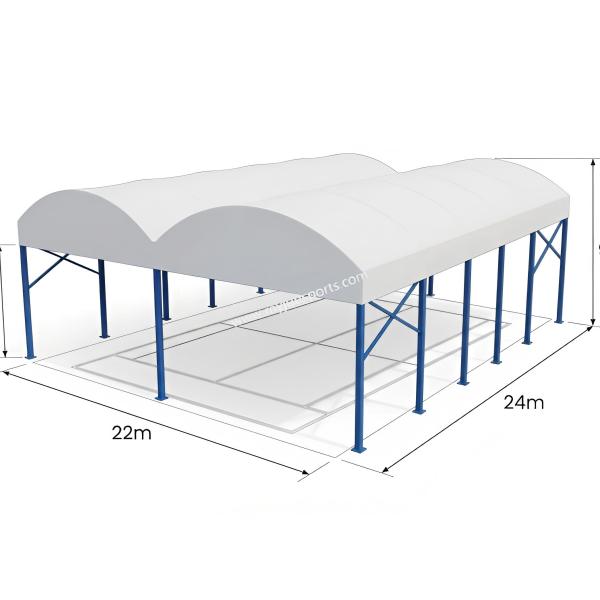
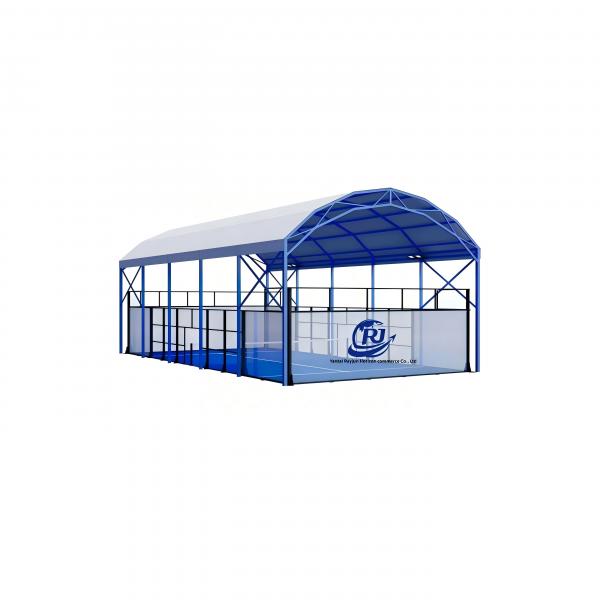
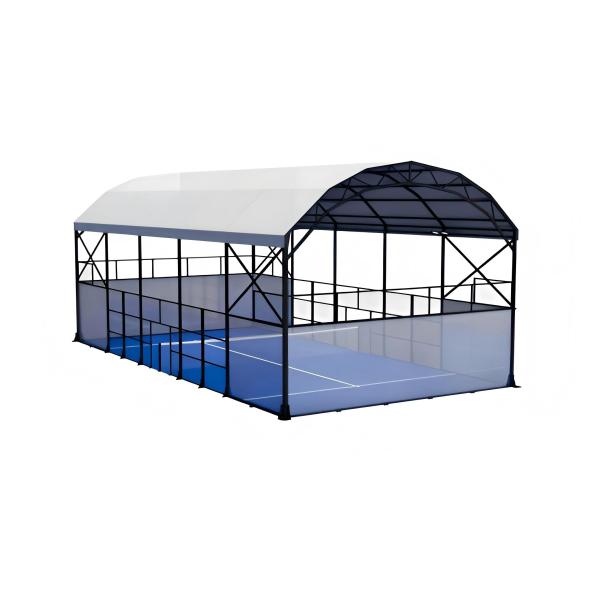
- Padel court with roof
- Temporary or relocatable padel court
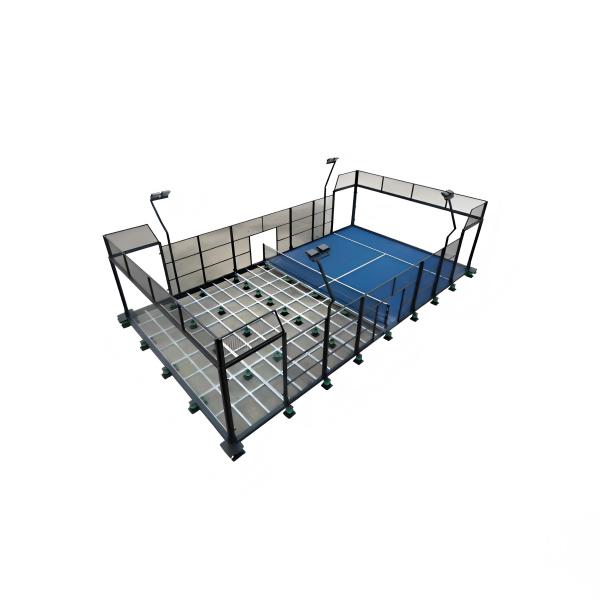
- Foundation-free platform court
- Singles padel court
The correct model depends on whether the project is indoors or outdoors, the local wind and snow conditions, available space, foundation restrictions and commercial positioning.
A coastal outdoor club may require reinforced steel and additional corrosion protection, while a leased venue may be better suited to a temporary or foundation-free system.
2. Survey the Installation Site
A site survey should be completed before the court is ordered. The survey helps identify construction limitations and prevents changes after manufacturing has begun.
Check the following:
- Available site dimensions
- Ground level and surface condition
- Soil bearing capacity
- Drainage direction
- Indoor ceiling height
- Access for trucks and lifting equipment
- Local wind and snow loads
- Distance from surrounding buildings
- Electrical supply
- Underground pipes and cables
- Local planning and construction requirements
A standard doubles padel court has internal playing dimensions of 10 × 20 meters. The International Padel Federation also specifies a minimum unobstructed height of 6 meters and recommends 8 meters for new facilities. Additional space is required outside the playing enclosure for construction, access, maintenance and spectator circulation.
3. Plan the Court Orientation and Layout
For outdoor installations, court orientation affects sunlight, glare and the playing experience.
The FIP recommends positioning the longitudinal axis of an outdoor court approximately north to south, with limited variation toward the northeast or northwest. The final orientation should also consider prevailing winds, surrounding buildings, entrances and spectator areas.
For multi-court projects, the layout should include space for:
- Player entrances
- Walkways between courts
- Benches and waiting areas
- Emergency access
- Maintenance equipment
- Lighting controls
- Drainage channels
- Reception and spectator areas
The court layout, entrance direction and lighting positions should be finalized before foundation construction starts.
4. Prepare the Foundation and Drainage
The foundation is one of the most important parts of padel court construction. It supports the enclosure, glass walls, lighting system and playing surface.
The foundation design should be determined according to:
- Soil conditions
- Court structure
- Local wind load
- Indoor or outdoor installation
- Groundwater and rainfall
- Anchor bolt requirements
- Local engineering standards
Depending on the project, the design may use a reinforced concrete slab, perimeter ring beam or another engineered base system. The depth, reinforcement and concrete specification should be confirmed by the court supplier and a qualified local structural engineer rather than selected from a universal standard.
The LTA notes that the design of the perimeter ring beam and drainage depends on the individual site and should be determined by a structural engineer.
Foundation Accuracy
The foundation must be level and constructed according to the final court drawing. Incorrect levels may create problems when aligning steel columns and installing glass panels.
FIP rules state that differences in the internal court surface should be less than 3 mm when checked with a 3-meter straightedge. For surfaces without an internal drainage system, the maximum transverse drainage slope is 1% from the center toward the outer edges.
Drainage
Outdoor courts require an effective drainage system to prevent standing water beneath or around the artificial turf.
Drainage planning may include:
- Surface gradients
- Perimeter drainage channels
- Water outlets
- Porous base construction
- Protected cable routes
- Separation from surrounding landscaping
Drainage should be completed before the steel structure and turf are installed.
5. Mark the Court and Anchor Positions
After the concrete has reached the required strength, the installation team can mark the court centerline, perimeter and base plate positions.
Before drilling or setting anchors, check:
- Court length and width
- Diagonal measurements
- Centerline position
- Entrance locations
- Net post positions
- Lighting pole positions
- Base plate spacing
- Anchor edge distances
The two diagonal measurements should match. A rectangular court that is not square may cause difficulties when connecting structural beams and aligning glass panels.
Do not begin structural installation until the dimensions have been checked against the supplier’s final drawing.
6. Inspect the Delivered Components
Before assembly, open the packages according to the packing list and installation sequence.
Typical court components include:
- Steel columns and beams
- Mesh panels
- Tempered glass
- Base plates
- Structural bolts
- Glass fasteners and gaskets
- Doors and handles
- Artificial turf
- Joining tape and adhesive
- Padel net and posts
- LED lights
- Electrical accessories
- Protective padding
Check all components for shipping damage, incorrect quantities or coating damage.
Glass should remain upright in its transport frame until required. Turf should be stored in a clean, dry area away from active civil construction.
7. Install the Steel Structure
The steel structure is normally assembled from the corners and main frame sections before the mesh panels and glass are installed.
A typical sequence is:
- Position the main columns.
- Install temporary supports.
- Connect the upper and lower structural beams.
- Install mesh frame sections.
- Check vertical and horizontal alignment.
- Tighten the structural bolts gradually.
- Recheck the complete court dimensions.
Do not fully tighten every bolt immediately. Keeping the connections slightly adjustable during the early stages makes it easier to correct alignment.
The installers should repeatedly check:
- Column verticality
- Beam level
- Court diagonals
- Entrance alignment
- Base plate contact
- Bolt engagement
- Frame movement
For outdoor, rooftop or high-wind projects, the anchoring system must follow the approved structural drawing.
8. Install the Tempered Glass
Tempered glass installation requires trained workers, suitable lifting equipment and careful handling.
Before lifting each panel, inspect:
- Glass edges
- Drilled holes
- Panel dimensions
- Identification labels
- Protective gaskets
- Fasteners and washers
The glass should not make direct contact with unprotected steel. Rubber or suitable protective components should be installed at fixing and support points.
During installation:
- Keep each panel vertical.
- Use approved suction lifting equipment.
- Align the fixing holes carefully.
- Do not force misaligned glass into position.
- Tighten fasteners evenly.
- Avoid excessive localized pressure.
- Maintain the required gaps between panels.
Tempered glass is strong during normal use but remains vulnerable to edge impact and uneven fixing pressure. A damaged or chipped panel should not be installed.
9. Complete the Mesh, Doors and Accessories
After the main structure and glass are aligned, install the remaining mesh panels, entrances, doors and court accessories.
Check that:
- Mesh surfaces face the correct direction.
- Welded sections have no sharp projections.
- Doors open and close freely.
- Handles do not protrude into the playing area.
- Entrance edges are protected where required.
- Bolts and fixing points do not create player hazards.
FIP rules require the court enclosure to form a flat, vertical surface without sharp or pointed edges. Door handles must be positioned outside the court and must not protrude inward.
10. Install the Artificial Turf
The concrete or finished base must be clean, dry and free from loose materials before turf installation.
The general process includes:
- Clean the court surface.
- Place and relax the turf rolls.
- Confirm the pile direction.
- Cut the turf accurately.
- Join the sections with tape and adhesive.
- Install or align the playing lines.
- Trim the perimeter.
- Add the specified silica sand.
- Brush the turf evenly.
All turf rolls should normally be laid in the same direction to maintain a consistent visual appearance and playing response.
The correct amount and distribution of sand help stabilize the turf fibers, support traction and control ball speed. Sand requirements vary according to the selected turf system and should follow the manufacturer’s specification.
The FIP permits cement, synthetic materials and artificial grass, provided that the surface delivers a regular ball bounce.
11. Install the Net and Lighting
The net divides the playing area into two equal halves. FIP rules specify a 10-meter-long net with a height of 0.88 meters at the center and 0.92 meters at the ends.
The net should be tensioned securely but not excessively. Confirm that the posts are vertical and do not create sharp or exposed hazards.
For the lighting system:
- Install fixtures according to the approved layout.
- Use outdoor-rated components where required.
- Protect electrical cables from moisture and impact.
- Aim the fixtures to reduce glare.
- Check lighting uniformity across the court.
- Confirm the local voltage and electrical standards.
FIP requires artificial lighting to be uniform and positioned so that it does not interfere with players, officials or spectators.
Electrical installation and testing should be completed by a qualified local electrician.
12. Inspect and Commission the Court
Before opening the court, complete a final inspection.
Structural Inspection
Check:
- Anchor bolts
- Base plates
- Structural bolts
- Welds and connections
- Column alignment
- Mesh panels
- Doors and hinges
- Lighting supports
Glass Inspection
Check:
- Glass edges and surfaces
- Fixing pressure
- Protective gaskets
- Panel gaps
- Loose fasteners
- Direct glass-to-metal contact
Playing Surface Inspection
Check:
- Turf joints
- Sand distribution
- Surface level
- Drainage
- Playing lines
- Ball bounce
- Net height and tension
Safety Inspection
Check:
- Sharp edges
- Protruding bolts
- Exposed cables
- Entrance protection
- Loose components
- Lighting operation
- Emergency access
Any installation problem should be corrected before players enter the court.
Common Padel Court Installation Mistakes
Starting Civil Work Without Final Drawings
Foundation and anchor positions should be based on the confirmed court model, not on an estimated layout.
Ignoring Drainage
A visually flat surface may still retain water. Drainage must be planned before the concrete and turf are installed.
Installing on an Uneven Base
An uneven base affects the steel frame, glass alignment and playing surface.
Fully Tightening the Frame Too Early
The structure should remain adjustable until the dimensions, level and diagonals have been confirmed.
Forcing Glass into Misaligned Openings
Glass panels should fit without excessive pressure. Misalignment usually indicates a structural or installation problem that must be corrected first.
Mixing Turf Directions
Installing turf rolls in different pile directions may create visible color differences and inconsistent playing conditions.
Ignoring Local Wind Conditions
Outdoor structures and foundations should be selected according to the local design wind speed and site exposure.
Using an Untrained Installation Team
Padel court installation combines structural steel, heavy glass, turf and electrical systems. The team should follow the manufacturer’s drawings and use suitable lifting and safety equipment.
How Long Does Padel Court Installation Take?
The on-site schedule depends on:
- Court quantity
- Foundation type
- Court model
- Site access
- Weather
- Installation team size
- Availability of lifting equipment
- Lighting and electrical work
- Roof or canopy requirements
Foundation construction and concrete curing are normally completed before the exported court package is assembled. A panoramic court, covered court or multi-court project may require different installation schedules.
The supplier and local contractor should prepare a clear work sequence before materials arrive.
What Information Should Be Sent to the Supplier?
Before requesting an installation plan or quotation, provide:
- Installation country and city
- Number of courts
- Indoor or outdoor location
- Ground-level or rooftop installation
- Site dimensions
- Local wind and snow conditions
- Soil or existing surface information
- Preferred court model
- Turf and lighting requirements
- Roof requirements
- Destination port
- Expected installation date
Complete project information allows the manufacturer to prepare a more suitable structure, foundation reference and packing plan.
Padel Court Installation Support from Rayjun
Rayjun supplies complete padel court systems, including steel structures, tempered glass, artificial turf, lighting, nets and optional roof systems. Depending on the project, support can include court layout drawings, foundation references, component identification, installation instructions and remote technical guidance. Rayjun also offers temporary and platform-based court systems for locations where permanent foundations are unsuitable.
Plan Your Padel Court Installation
Successful padel court installation begins before the first steel column is erected. Accurate drawings, a properly engineered foundation, effective drainage and careful structural alignment reduce installation delays and support safe long-term operation.
Send Rayjun your project location, court quantity, site dimensions and installation conditions to receive a suitable court configuration, technical drawings and quotation.